


Sitecore Forms is a module that was introduced with Sitecore 9 to replace WFFM (Web Forms For Marketeers) and offers a more modern and intuitive approach to construct web forms that record and report information provided by users to your website.
There are plenty of articles out there to help you create and show a form. For instance Jock’s Introduction to Sitecore 9 Forms. We are going here to focus on how to introduce logic and multiple pages in a single form.
Let’s say that before you want to show your main form, the user needs to answer some screening questions, and based on its answer, we want to show either the main form, a message or a login page. This can be done in a single Sitecore Form using a combination of Pages and conditional logic. Of course, there are other ways to do this process, like having multiple Sitecore Pages instead of multiple pages in a Sitecore Form, but my goal here is to show you how easy this works with the logic introduced by Form Element Conditions.
As a prerequisite, and in order to be able to have the logic to jump to pages inside a form, you’ll need first to install Sitecore Forms Extensions, a very nice update from the Sitecore Marketplace, with some useful new functionalities.

Now when we have everything in place, we can begin to create our form.
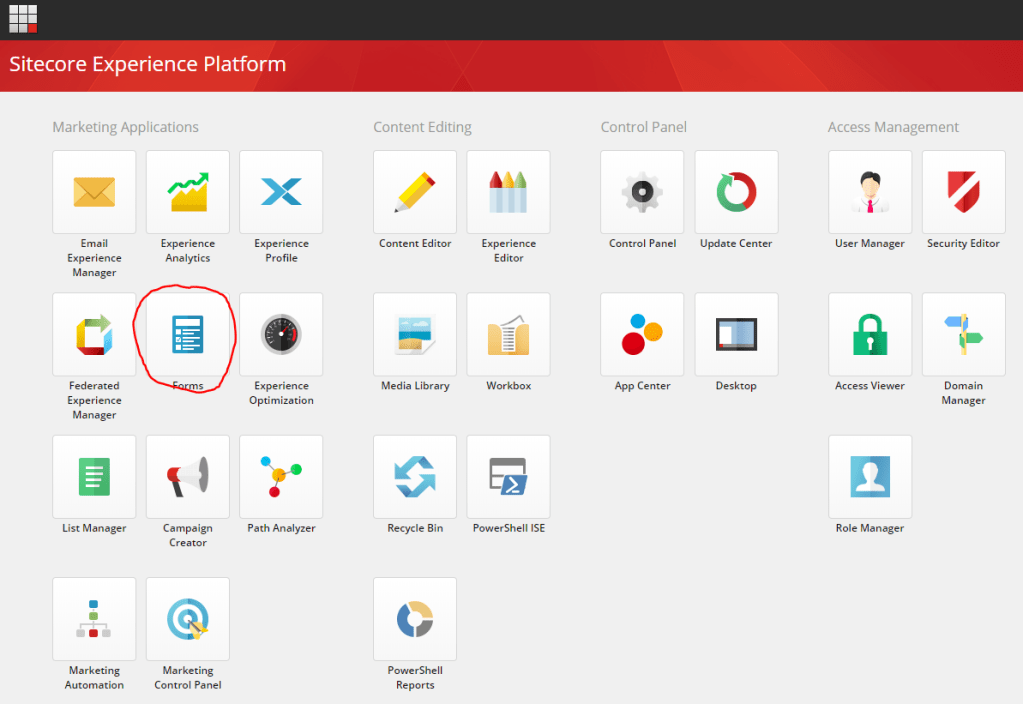
In the Sitecore launchpad, click on the Forms module
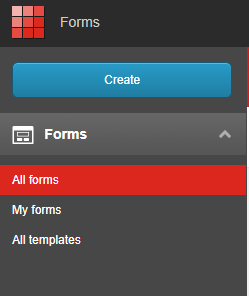
Then on the Create button
Give your form a name and choose the first best template (“Blank form” if you don’t have any form templates)

Your new form is now ready to be created.
In our example, we will have four pages:
- The screening page (FieldName: ScreeningPage), with two radio buttons and a submit button:
- Radio Button: “Do you meet the requirements to be our customer ? Yes / No”
- FieldName: IsRequirementsOK
- Radio Button: “Are you a returning customer? Yes / No”
- Fieldname: IsReturningCustomer
- Submit Button: “Next”
- FieldName: ScreeningNOKBtn
- CSS class: btn
- Submit Button: “Next”
- FieldName: LoginBtn
- CSS class: btn
- Submit Button: “Next”
- FieldName: RegisterBtn
- CSS class: btn
- Radio Button: “Do you meet the requirements to be our customer ? Yes / No”

- One message page (FieldName: “RequirementsNOKPage”) for the users who don’t meet the requirements to be our customer
- Text field: “Sorry. Come back when you meet our requirements”

- One login form (FieldName: “LoginPage”) for the returning customers
- Input field: “Username”
- Input field: “Password”
- Submit button: “Login”

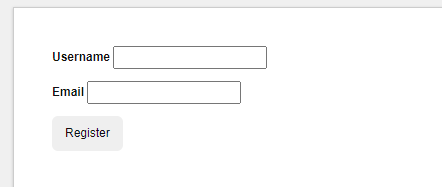
- One Registration form (Fieldname: “RegistrationPage”) for the new customers
- Input field: “Username”
- Email field: “Email”
- Submit button: “Register”
So first create those four pages with the corresponding elements in it. Make sure to use the form element Page to separate those four pages.

On the first page, we will now add Submit actions to the three buttons.
Select the first button, the one named ScreeningNOKBtn. In the properties panel, add a Submit action called “Show Form Page”
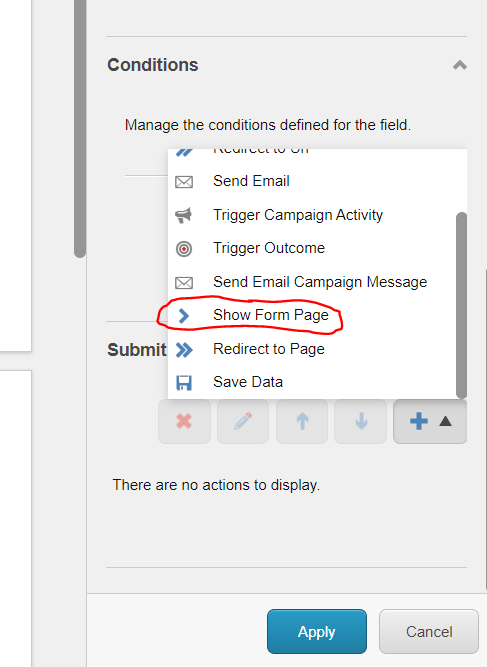
Pick the form page “RequirementsNOKPage” in the “Show Form Page” dialog

Apply your changes and do the same for the two other buttons:
- LoginBtn will open the form page called LoginPage
- RegisterBtn will open the form page called RegisterPage
So right now, if we open the form as it is, the first page will show some radio buttons and three submit buttons. Each of them opening a different page. We want now to hide the submit buttons that are irrelevant based on the actions of the users. For example, if the user clicks “No” on the first question, then we want to hide the buttons linked to the Login and Register pages.
This logic is done in the Conditions part of each button.
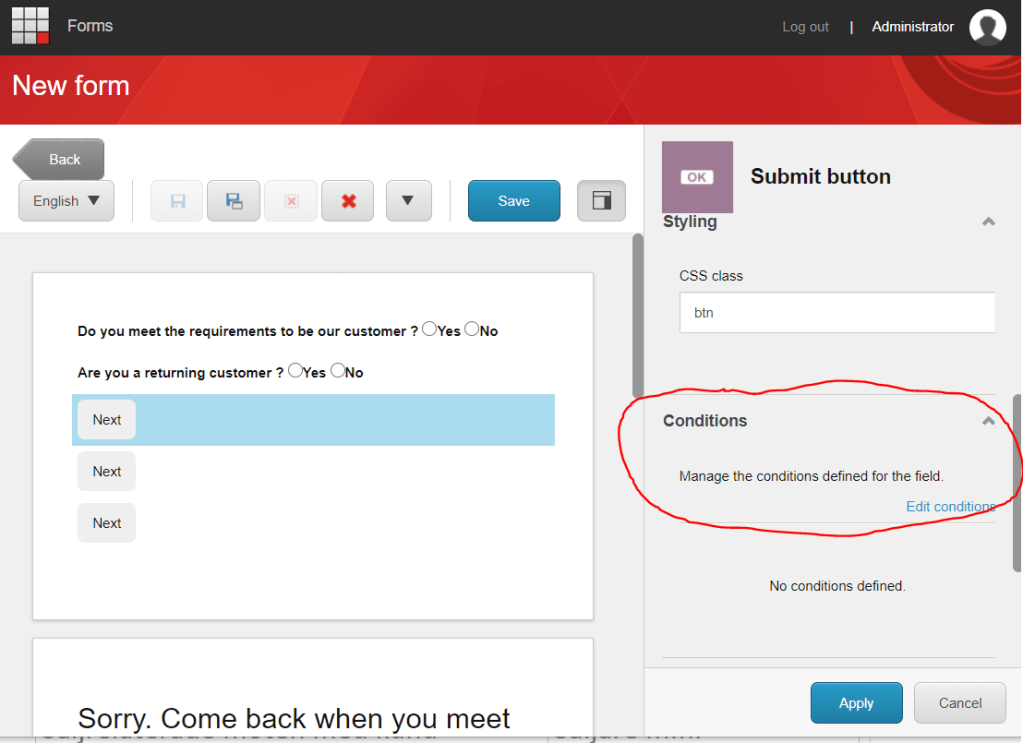
A Condition has a Rule and an Action. If the Rule is met, then the Action is executed. In our case, the Rules will be the choice of the user (for example if the user has clicked “Yes” in the first question), the Actions will be which button to show. Be aware that if we ask the form to show a button, it is implied that every other buttons will be hidden !
Every condition is evaluated whenever the form is created or updated in Sitecore.
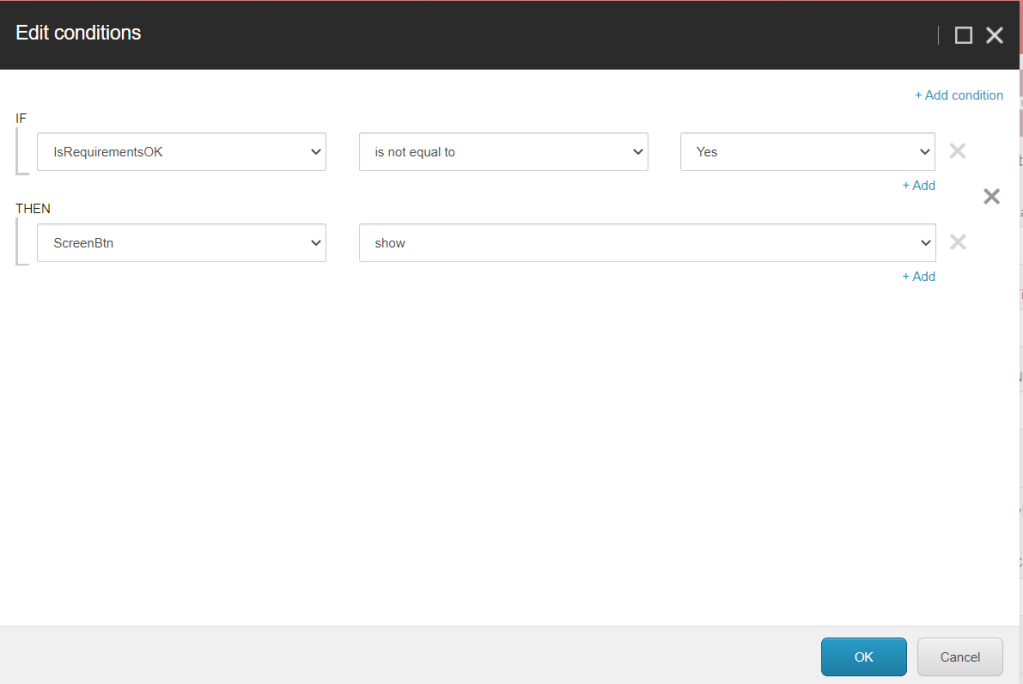
Let’s create our first condition for the first submit button. Select the button ScreenBtn, and on its properties, click “Edit conditions”. In the “Edit conditions” dialog, click on “Add condition”.

You can combine any number of rules and actions, here we will show the ScreenBtn only if the users has clicked on “No” to the first question, or has left this question unanswered.
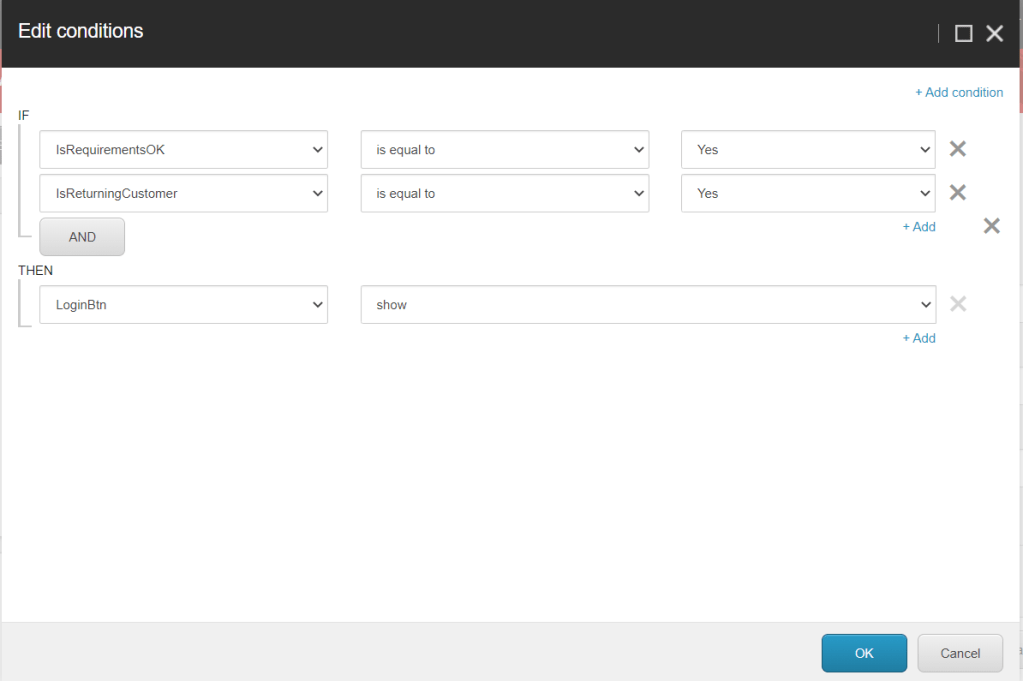
Apply your changes and select the second submit button, LoginBtn. This one will show if the requirements are OK (“Yes” on the first question) and the user is a returning customer (“Yes” on the second question). It is important that the two rules are met, so be sure that the button “AND” is visible.
Apply your changes and select the third submit button, RegisterBtn. This one will show if the requirements are OK (Yes on the first question) and the user is not a returning customer (No on the second question, or even better, not Yes, so we take care also of the case when the user didn’t answer this question).

Now you can see the results when you preview your form. There is only one button “Next” visible on the first page of the form, and it shows the relevant page, either the message or one of the other forms.
